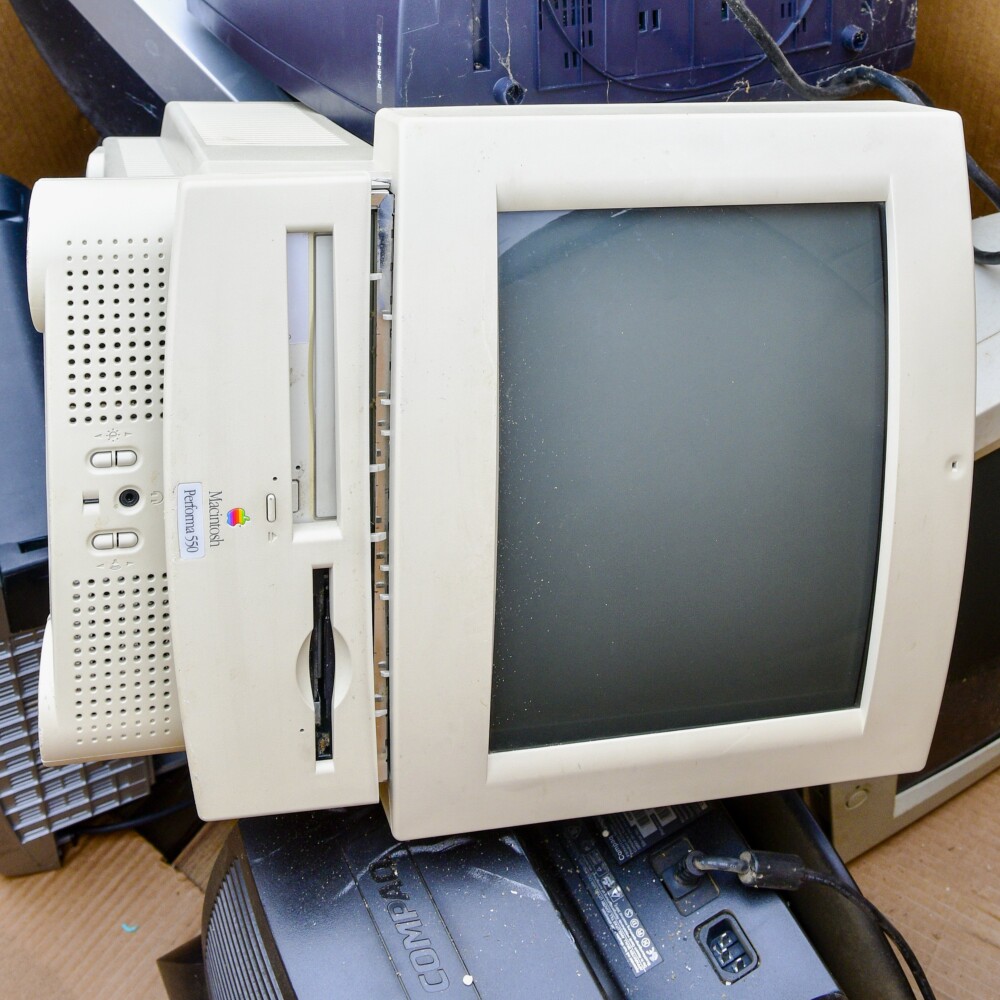
A Macintosh computer from the mid-1990s sits in a box Saturday during an e-waste collection drive at the Augusta Civic Center. Joe Phelan/Kennebec Journal
BoomerTECH Adventures guide Ed Brazee recently shared some good options for addressing the challege of e-waste from discarded digital devices. Getting some credit toward a new phone by turning in your old one, donating a working computer to a worthy cause, or leaving your non-working hardware off at a community recycling center will all help reduce the pressure on our landfills. But before you part with your personal electronics it’s important to make sure any stored personal information is permanently removed, or wiped from them. Sometimes it’s not as simple as deleting unwanted files. And it often it depends on what kind of device you are trying to clean up. Scammers can use programs designed to retrieve data lost due to technological glitches or accidents. So you’ll want to make sure your personal information is truly erased from your phones, tablets, laptops and desktop computers. In this article, we will focus on Apple devices. Keep in mind that the processes described can be adapted to other manufacturers with a little online research.

AN IMPORTANT NOTE: Be absolutely sure to back up any information you want to keep before deleting it from the device you’re decommissioning. Data can be stored online through services such as Apple iCloud, Google Drive, Amazon Drive, or other cloud-based storage. Apple iCloud and Amazon Drive provide 5 gigabytes of free storage and Google Drive allows for 15 gigabytes at no cost. More options can be found by doing an online search using the terms “cloud storage.” You can also back up data using an external hard drive connected to your device. Be sure the capacity of the drive is large enough to store your information.
Permanently erasing all your information from a device is referred to as data sanitization. The three classes of data sanitization are Clearing, Purging and Destroying. The type used depends on the kind of device being cleaned and the methods being used. Small devices such as cellphones, copiers, and small flash drives are sanitized by “Clearing”. This is usually accomplished by following the manufacturer’s instructions to restore the device to its “in the box” factory settings. Clearing data from cellphones and tablets is also referred to as a hard reset that removes all files, apps, personal information, browsing history, and passwords.
To accomplish a hard reset with Apple iPhones and iPads start by going to Settings, then select General, next tap Reset, and then choose Erase All Content and Settings. You will then have to enter your password and tap on Erase Phone. When the process is completed the phone will restart without any of your personal information or files.
The process for clearing Android devices differs slightly depending on the various manufacturers. Android phones follow this general progression beginning with the Settings App: Backup and Reset>Factory Data Reset>Reset Device>Erase Everything.
If you have a Windows phone start with Settings, select About, then tap on Reset Phone. We recommend that any other small digital devices such as printers, flash drives, and routers be factory or hard reset before passing them on. The easiest way to learn how to accomplish this is to do an internet search with the make and model of the device along with the term “factory reset”.
Sanitizing data from laptop or desktop computers, and hard drives is referred to as purging. This is accomplished by erasing everythng, removing the operating system (OS) and reinstalling the operating system. This called a clean install. If you have an Apple computer or laptop you should sign out of any iServices accounts. To do this go to Preferences by clicking on the small apple icon at the upper left of your screen and select System Preferences. To sign out of iCloud, click the icon that says Apple ID on newer Macs (Catalina and newer) click Overview, then Sign Out. On older Macs click on the iCloud icon and then select sign out. To sign out of iTunes open the Music App on newer computers or iTunes on older ones (Mojave or earlier). Select Accounts in the menu across the top and click on Deauthorize this computer. Type in your Apple ID and password and click Deauthorize. To sign out of Messages open the Messages App and select Preferences. In the pop-up window select the iMessage icon, then click on the Sign Out button. Now shut down your computer. It is now ready to be sanitized by purging your information.
Restart your computer in Recovery Mode by holding down the Command and R keys until the Apple logo appears. You can then release the keys while it completes its start up and the Utilities window appears. Now click on Disk Utilities and select Reinstall MacOS. Click Continue and then click View and Show All Devices. Select your hard drive and click Erase. If you have the High Sierra or newer operating system select APFS Formatting. If you have Sierra or older select Mac OS Extended (Journaled) option. Click Erase. (Remember, this is not reversible!) It will take several minutes for the erasing process to complete. When it finishes you can reinstall the OS by clicking continue. When the installation is complete simply shut down the computer and it will be ready for the new owner to set up with their personal information.
Newer Macbooks with the Monterey and newer operating systems have a much simpler process for purging data that is similar to the iPhone and iPad devices. It can be found by selecting the Preferences setting and selecting Erase Content and Settings. Simply follow the options to prepare your computer for sale, donation, or recycling. Even if you don’t have an Apple computer you can find out how to sanitize yours by doing an internet search with the name and model plus the words “hard reset” or “factory settings.”
If you are unable or unwilling to go through the process of clearing or purging your old device, the last option is to destroy it by rendering it unusable. This can be done by physically taking the drive and electronic parts out and smashing them into pieces (wearing proper protective gear of course!) You could also drill holes through the hard drive. The remaining pieces should be brought to a recycling center to keep the plastic and metals out of the environment.
For more tips and information to make your digital life easier visit BoomerTECH Adventures at boomertechadventures.com. Subscribe to our YouTube Channel for lots of free video tutorials at youtube.com/results?search_query=boomertechadventures
Comments are not available on this story.
Send questions/comments to the editors.