

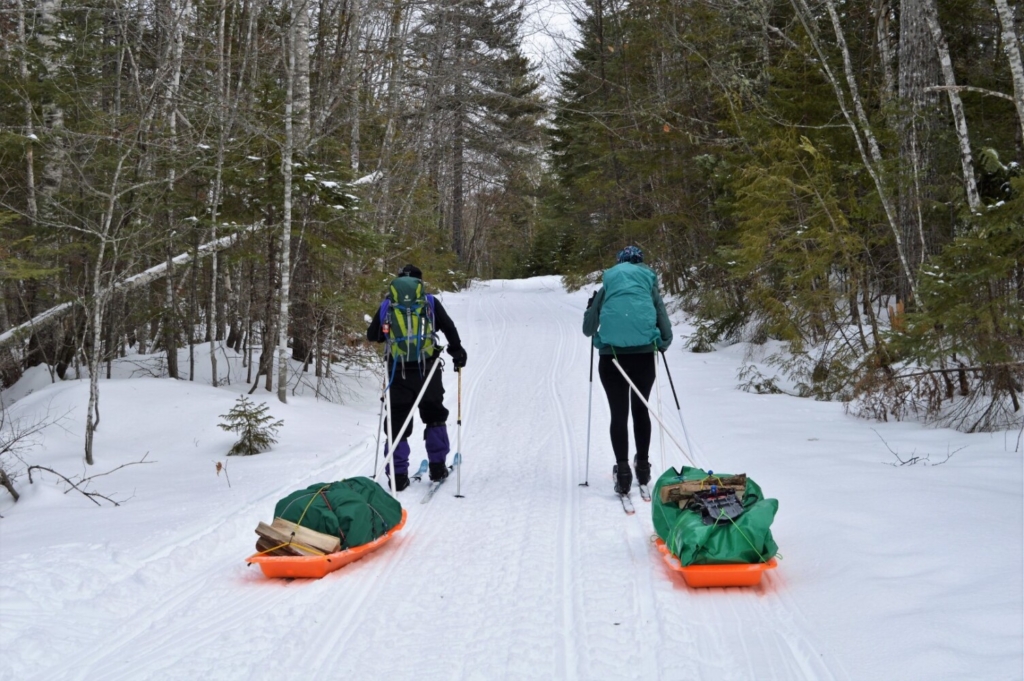
Carey Kish and his Nordic skiing companion, Willow Sherwood, tow their ski pulks through Katahdin Woods and Waters National Monument last winter. Photo courtesy of Carey Kish
Early last winter, with plans for trekking into Katahdin Woods and Waters National Monument and Baxter State Park, this adventurer decided that a new ski pulk system was in order. My old rig had served me pretty well for about 15 years, but having been built around a kid’s Torpedo sled that was on the small and narrow side, it tended to tip over when piled high. A more stable setup was overdue.
Disassembling my old pulk, I saved all the parts, cast the hot pink Torpedo aside and got on with shopping for a new and better sled. Having seen plenty of different sled outfits over the years, it was easy to settle on the bright orange Paris Company Pro Expedition Sled. At the time, I couldn’t find it locally, so I ordered one for pickup at REI for about $60. Made of light but sturdy polyethylene, the sled measures 60-by-20 inches, and it is 6 1/4 inches deep.
Since I could use most everything from my old sled, I was able to minimize having to mess with the rigging. And it’s possible for you to build your own, as well. But since you’ll be starting from scratch, I will too in describing what you need for a utilitarian product. There are myriad designs for building a ski pulk, some rather elaborate, but I’m all in every time for the simple, efficient and inexpensive route. Besides the sled, you’ll spend about $80-100 for the various components. Assembly should take an hour, maybe two.
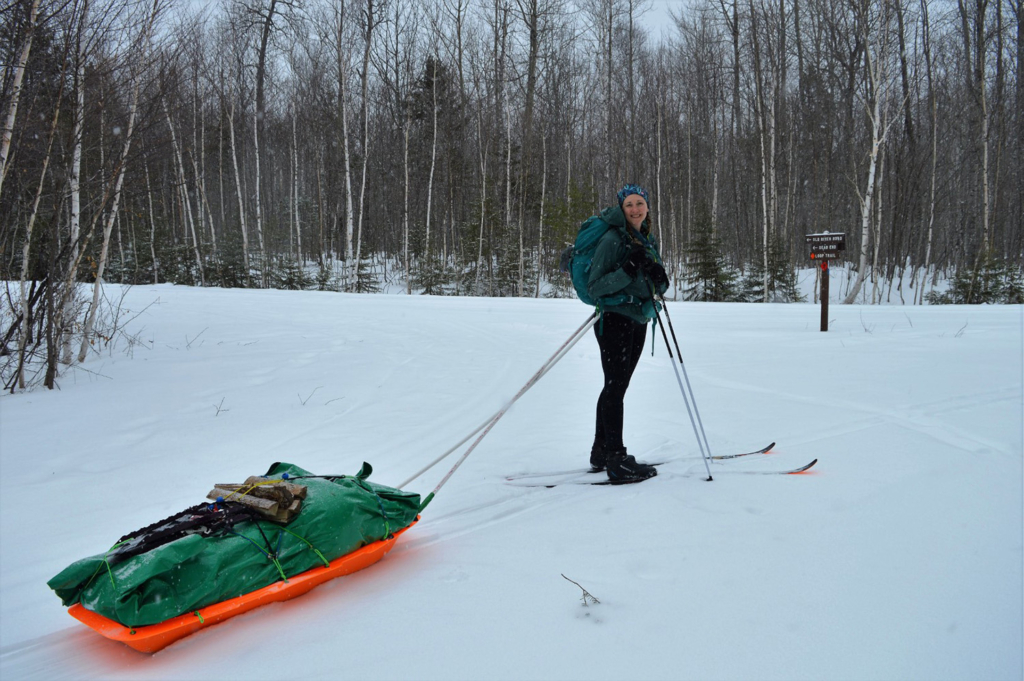
A happy Willow Sherwood stops for a moment with her ski pulk on the way into Katahdin Woods and Waters National Monument. Carey Kish photo
You’ll need to order an expedition backpack hip belt. There are a number of them available online (check Osprey), but be sure to buy one without the hip pouches.
Head for the hardware store to buy two 10-foot lengths of PVC electrical (not plumbing) conduit (3/4-inch inside diameter) for the “traces” that connect you to the sled; sandpaper; two adjustable clevis pins (1/4-by-2 inches, 2 1/2 inches or 3 inches; the exact size will depend on the hip belt width) with hitch clips to attach the hip belt to the traces; six 1/4 by 1-inch fender washers to use with the clevis pin/hip belt rigging; a coil of 3/8-inch braided polypropylene rope to run through the traces plus two 1/2-inch flat washers; eight 1/4-by-2-inch eye bolts with nuts to be used with 16 more 1/4-by-1-inch fender washers; four to six 24-inch bungee cords; an 8-by-10-foot poly tarp. And while you’re out, pick up a quality duffel bag or two.
For tools, you’ll want a tape measure, hacksaw, drill and 1/4-inch drill bit, box cutter, lighter, leather punch, adjustable wrench and pliers.
OK then, let’s get cracking.
Cut the conduit to 6-foot lengths. Smooth the cut edges with sandpaper. Drill holes for the clevis pins 1 inch in from one end of both conduits. Measure and cut 15-16 feet of rope. Melt the ends of the rope to avoid fraying. Thread the rope through one conduit, down through one of the large grommets at the front of the sled, underneath the sled’s front lip and up through the other grommet, then back through the other conduit. Slide a flat washer over the rope ends on each conduit, pull the ropes tight and tie off each end with a good knot.
Punch a hole through the inside center of each side of the waist belt. Place a fender washer over each inside hole, push the clevis pins through, and add fender washers to the outside of the belt. Place the belt between the conduit ends, push the clevis pin ends through the drilled holes in the conduit, add a fender washer to each, then fasten with the hitch pins.
Using a fender washer above and below, put an eye bolt through the four pre-drilled holes on each side of the sled’s lip and secure with nuts. These make good attachment points for your bungee cords.
Pack your goods in a large duffel bag or several smaller ones (but don’t overpack!), then use the tarp to burrito wrap everything against the elements and you’re good to go. Be sure to field test your ski pulk before heading off into the backcountry. A few spare parts are a good call, too.
For a free do-it-yourself guide to building a ski pulk (many great ideas) plus complete pulk systems and pulk components you can purchase and a lot more helpful information, visit skipulk.com.
Carey Kish of Mount Desert Island is the author of AMC’s Best Day Hikes Along the Maine Coast and editor of the AMC Maine Mountain Guide. Follow more of Carey’s adventures on Facebook @CareyKish
Send questions/comments to the editors.

Comments are no longer available on this story