

Tilework is an exceptionally high effort DIY project because of the process of removing existing backsplashes or flooring, prepping the surface, applying adhesive, placing the tile, and finally applying grout to the tile surface. Even after all the work involved, you may be unhappy with the result because of messy or uneven grout lines and crooked pieces.
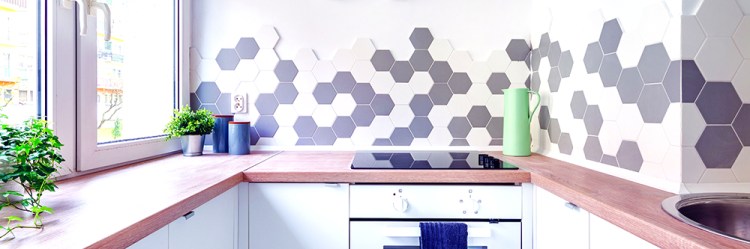
Luckily, this is not the only way to accomplish a beautiful tile look. Peel-and-stick tiles work just how they sound and are the ultimate solution to update a kitchen, bathroom, entry, office, stairway, or floor. From stone to gold, from mosaic to subway, and from marble to hexagonal resin, there is a style to fit your taste. The only limit to the product’s versatility is that you should not use it in high-moisture places like showers and tubs.
“Self-stick vinyl tile is a do-it-yourselfer’s dream material,” according to Better Homes & Gardens. “It requires only basic skills, minimal time, and a few tools.”
Better Homes & Gardens offers one caveat, however. You will need to have a precise eye when setting the first tile and the row adjoining it, as this will influence the straightness of the rest of the pattern. You should also follow best practices to achieve an optimal result.
Here are some tips and tricks on how to install peel-and-stick tiles.
MEASURE THE SPACE PRECISELY
Whether you’re installing a backsplash, an accent wall, or a floor, precise measuring is vital to acquiring the right amount of peel-and-stick tiles. You might want to consider buying 10% more than you calculate you need to make up for waste and for future replacements. If the space is irregular, try dividing it into smaller sections to get an accurate count of how many tiles you’ll need.
PREPARE THE SURFACE
You can apply vinyl to most surfaces as long as it is smooth and free from varnish, sealant, grease, wax, and debris. If the surface has bumps or dips, add filler or sand it to prevent imperfections to the finished product. You can even apply vinyl tile over old flooring in good condition.
You can also use a trowel to put a skim coat of embossing leveler on floors with rougher textures to create a smooth surface.
For floors in worse condition, you can add a layer of plywood to create a smooth surface.
CREATE YOUR LAYOUT
Before sticking the tiles to your surface, lay them out to see the pattern and prevent waste. You might use chalk lines to indicate the edges of your tiles and to create an even layout. It can help to divide your space in half and to start from the middle rather than the edge.
PEEL AND STICK THE TILES
Now that you’re ready to apply the tiles, remove the backing only one tile at a time. Once a tile attaches to a surface, it is difficult to remove, and you usually cannot reuse it. If you make a mistake, you can try using a hair dryer to soften the adhesive on a tile that you have already placed, and then use a putty knife to lift the edge of the tile.
Rub a foam roller across the surface of a placed tile to ensure complete adhesive attachment to the surface of the floor or wall. It takes about 72 hours for the adhesive to set.
Comments are not available on this story.
Send questions/comments to the editors.
